Native resolution: 2880×1800
Article index:
1 – Setting the Retina Resolution
By default, the screen resolution of the MacBook Pro Retina 15-inch is 1440×900. This resolution is a scaled resolution because the retina monitor has a native resolution of 2880×1800 pixels (the MacBook Pro Retina 13-inch has a native resolution of 2560×1600)… This resolution is so high that you can’t use it for every day work on a 15-inch screen. That’s why the MacBook Pro uses scaled resolutions (1440×900, 1920×1200, etc) to bring visual comfort to the user.
Apple does not provide a way to select the native resolution (why???) so we have to use some tools available on the net to do the job. To switch the Retina screen in native mode, I use this cool utility: QuickRes.
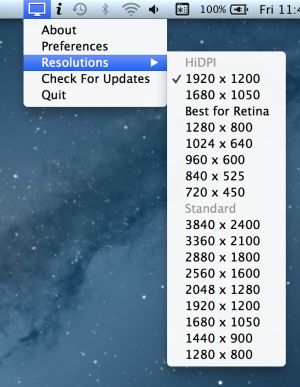
QuickRes is a free application for OS X and is very easy to use. It even offers the possibility to set a resolution higher than 2880×1800 like 3840×2400… The text is just microscopic but thanks to the quality of the retina display, we can still read it, a bit tough task I agree…
2 – Rendering Performance Test
Scaled modes bring visual improvements but there is a price: rendering performance (OpenGL) of graphics applications can suffer from non-native modes. So let’s see how scaled modes impact the rendering performances. I did three tests: one with very light graphics workload, a second with a medium workload and a third with heavy workload. I used GLSL Hacker with three different scenes from the Code Sample Pack.
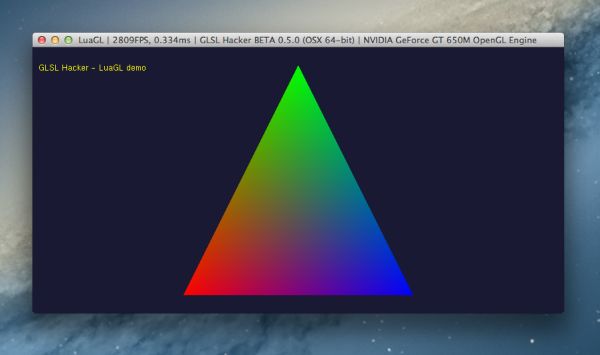
2.1 – Light graphics workload: simple triangle rendering
The test scene can be found in the LuaGL/ folder of the code sample pack. The scene is a simple triangle.
Here are the results (GeForce GT 650M):
– 1440×900: 2475 FPS
– 1920×1200: 1415 FPS
– 2880×1800: 2860 FPS
– 3840×2400: 2430 FPS
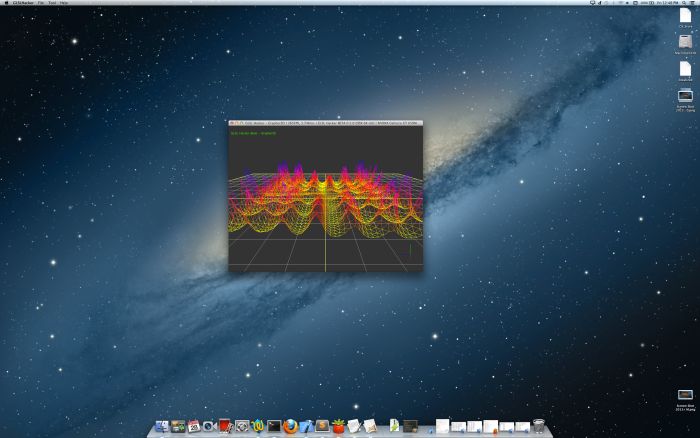
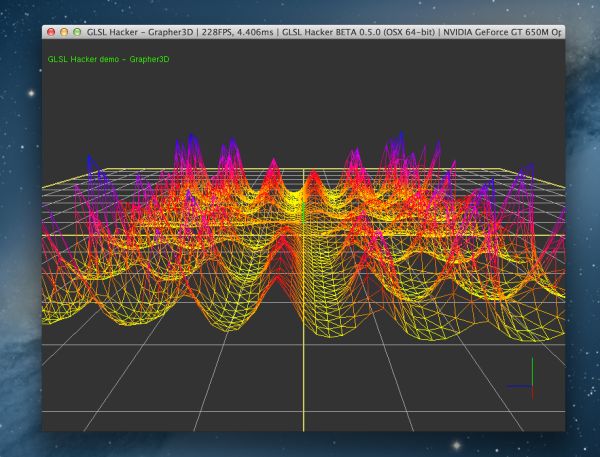
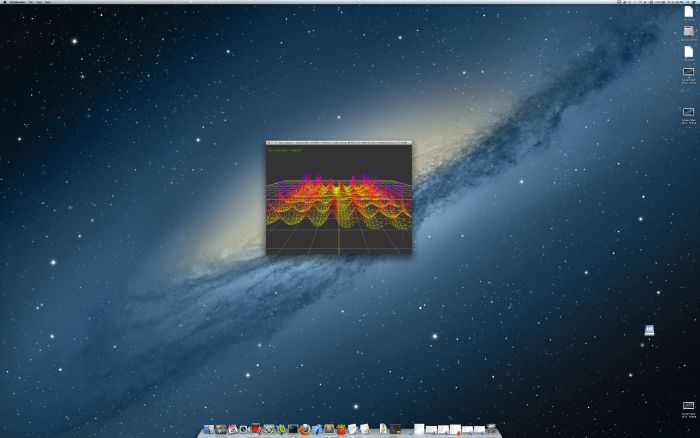
2.2 – Medium graphics workload: 3D surface with a mesh plane made up of 50×50 vertices
The test scene can be found in the Graph3D/ folder of the code sample pack. A GLSL shader performs a vertex displacement from a 3D surface equation on a 50×50-vertex grid mesh.
Here are the results (GeForce GT 650M):
– 1440×900: 250 FPS
– 1920×1200: 229 FPS
– 2880×1800: 266 FPS
– 3840×2400: 254 FPS
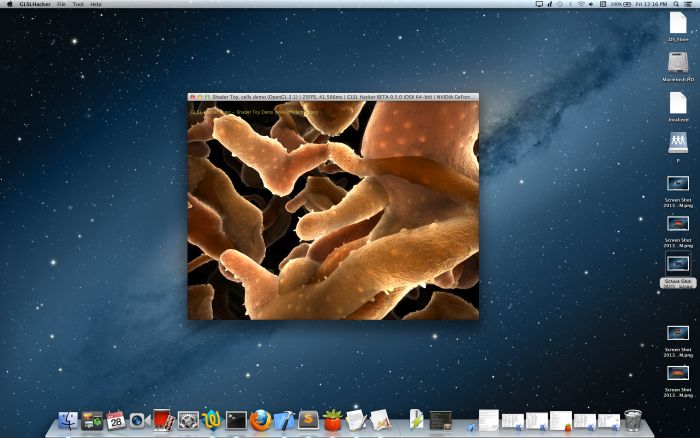
2.3 – Heavy graphics workload: Raymarching scene
The test scene is a rendering of some cells with the raymarching technique and can be found in the GLSL_Shadertoy/ folder of the code sample pack (cells.xml).
Here are the results (GeForce GT 650M):
– 1440×900: 23 FPS
– 1920×1200: 24 FPS
– 2880×1800: 25 FPS
– 3840×2400: 25 FPS
As we can see, best performance is for native resolution and there is a clear performance penalty in scaled modes but only when the rendering load is light. As soon as the rendering load increases, the difference in performance between scaled and natives modes decreases and there’s no longer difference with heavy load.
Just for fun, here is an overview of the different resolutions. The GLSL Hacker demo creates a 800×600 window:
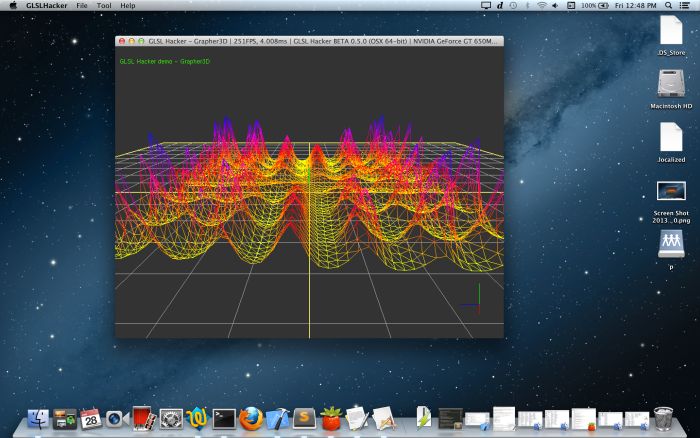
Scaled resolution: 1440×900
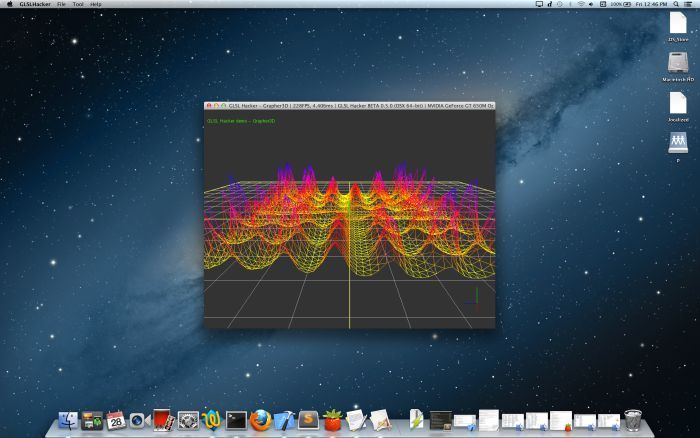
Scaled resolution: 1920×1200
Native resolution: 2880×1800
Scaled resolution: 3840×2400
FPS is not a good unit to use.
I see the app also prints ms, so please use that instead.