Did you know that you can easily code an audio video player with the latest version 0.8.4 of GLSL Hacker ? This is possible thanks to the FFmpeg plugin that can now read audio and video frames and synchronize them. The FFmpeg plugin is available with all versions of GLSL Hacker: Windows, Linux, OS X and, of course, Raspberry Pi.
I prepared an archive file for Raspberry Pi with a ready-to-use video player named vplay. vplay is simply GLSL Hacker that has been renamed in vplay. The full source code in Lua is included in the download (in the audio_video/ folder):

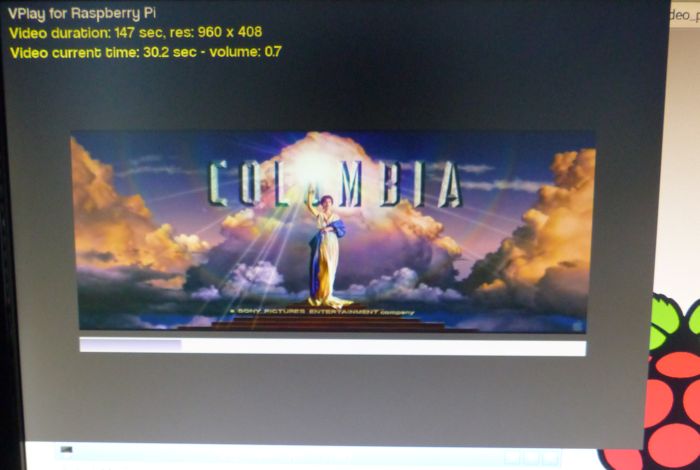
In a word, vplay is a video player based on GLSL Hacker that uses FFmpeg to decode audio-video files, OpenMAX to play the decoded audio buffer and OpenGL ES to display the decoded video frames.
Playing a video with vplay is simple. Open a terminal in vplay folder and pass the absolute path to the video file:
$ vplay /video=\"video_file_absolute_path\"
A concrete example:
$ vplay /video=\"/home/pi/mykoolvideo.mp4\"
You can also force the resolution and fullscreen mode like this:
$ vplay /width=1920 /height=1080 /fullscreen /video=\"/home/pi/mykoolvideo.mp4\"
/width, /height and /fullscreen are command line parameters of GLSL Hacker and are not specific to VPlay demo.
By default, the video is played on a quad with an orthographic camera (a 2D camera). But vplay can be easily tweaked to play the video on another kind of support like a 3D box. After all, in a FRAME script, a video is just a simple 2D texture that can be mapped (like any other texture) on any 3D object. I added a command line parameter /usebox (you can add other params by parsing the command line in Lua, look for the gh_utils.get_command_line() function in the source code of the demo, line 167) to play the video using a 3D cube and a perspective camera:
$ vplay /video=\"/home/pi/mykoolvideo.mp4\" /usebox
And the result:
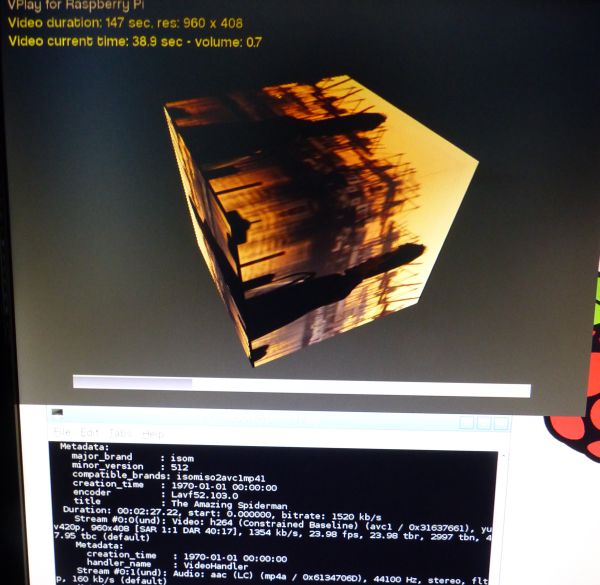 The video played on a 3D cube
And since the video is a simple 2D texture, you can play with the uv tiling factor in the pixel shader (line 31 and 388 of the xml file):
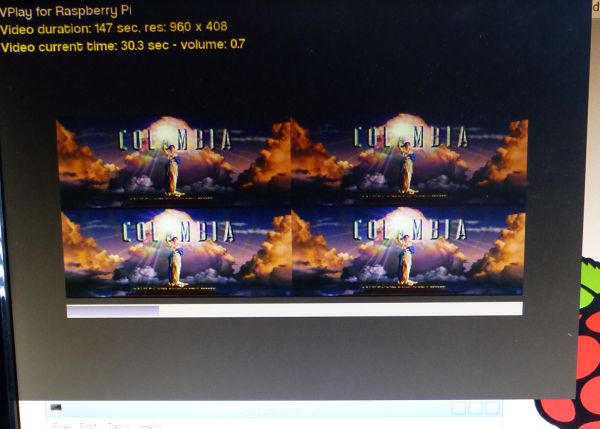 The video played on a quad with a texture tiling factor of 2.0
If you are interested about how vplay works, here are some code snippets that show how to use the audio-video functions of the FFmpeg plugin (Lua or Python) in GLSL Hacker:
INIT script:
-- Opening of the video file.
av1 = gh_av.decoder_open(av_filename, loop_mode)

-- video resolution.
video_width, video_height = gh_av.video_get_resolution(av1)

-- Creation of a 2D texture with correct resolution (width x height).
video_tex = gh_av.video_init_texture(av1, PF_U8_RGB)

-- Starting of the audio-video processing thread.
gh_av.start_audio_video_processing(av1, update_video, update_audio)
FRAME script:
-- Binding of the video texture and updating from the current video frame.
gh_texture.bind(video_tex, 0)
gh_av.video_update_texture(av1, video_tex)

-- Now the texture can be mapped on any mesh.
TERMINATE script:
-- Stopping of the audio-video processing thread.
gh_av.stop_audio_video_processing(av1)

-- Closing of the video file.
gh_av.decoder_close(av1)
The full source code is in the archive, so do not hesitate to hack it!