
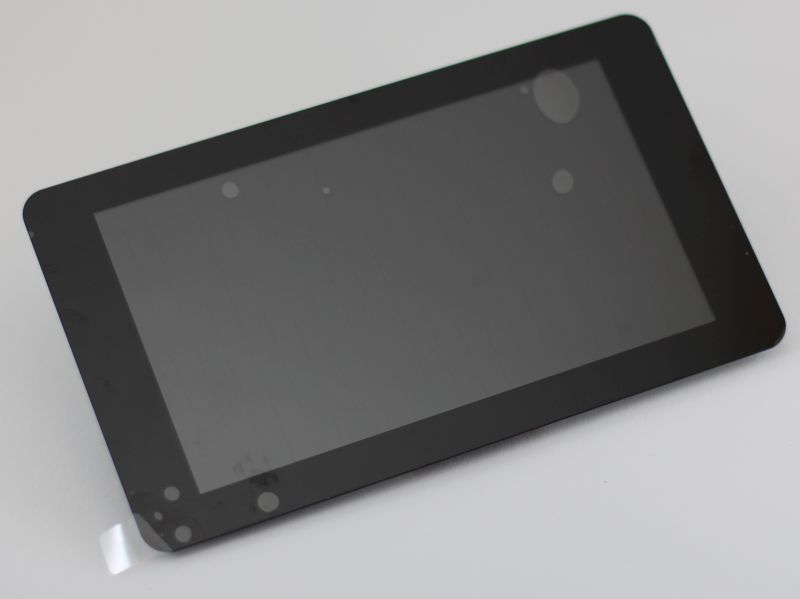
I received last week the official touchscreen display for the Raspberry Pi. This 7-inch display has a resolution of 800×480 pixels, 140° horizontal viewing angle and supports 10-finger touch. The latest version of Raspbian integrates all necessary drivers for full functionality. Let’s test it.
1 – Unboxing
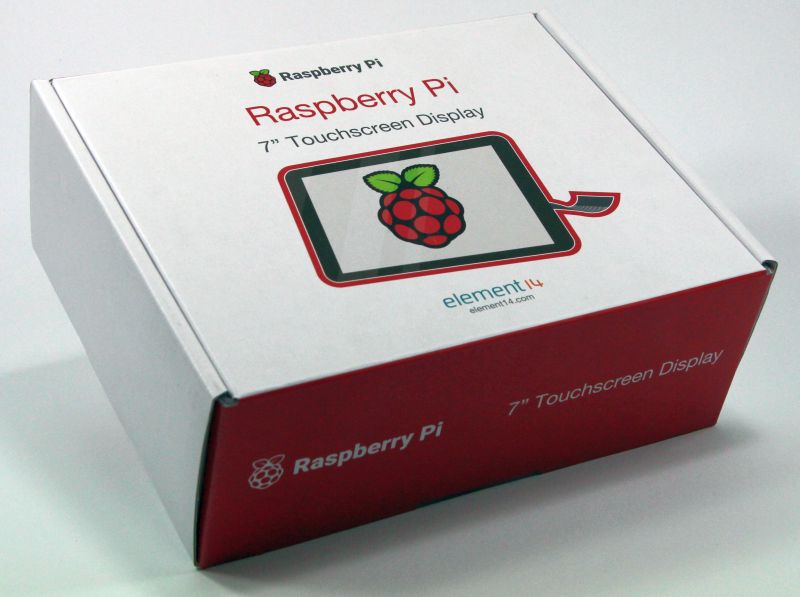
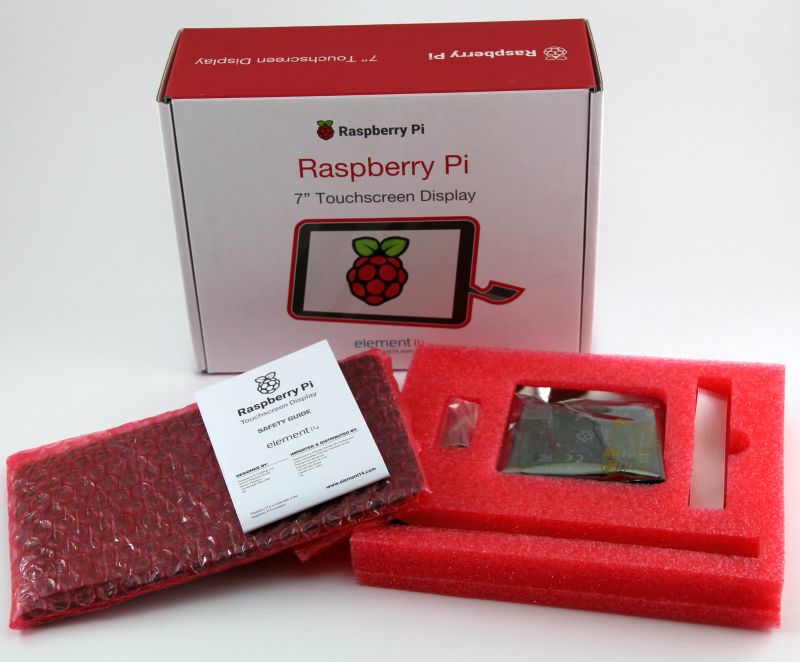
The box:
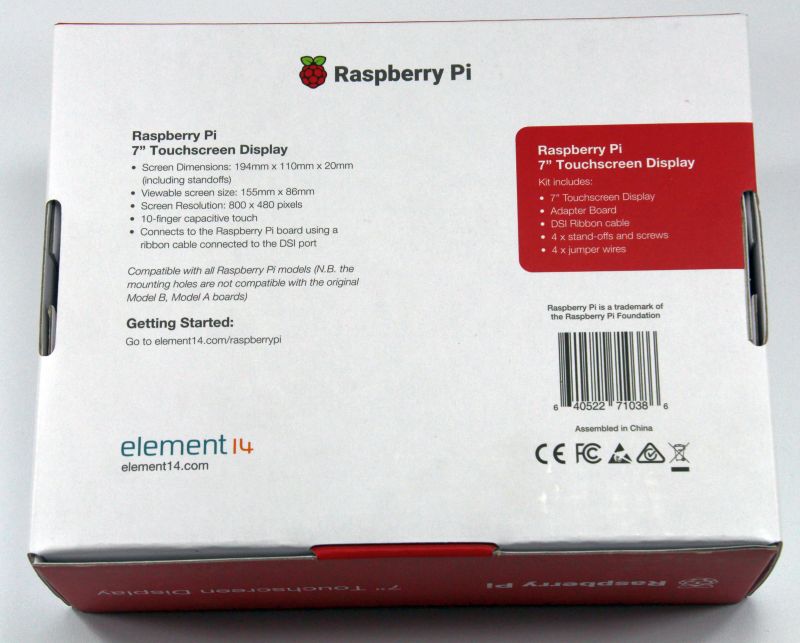
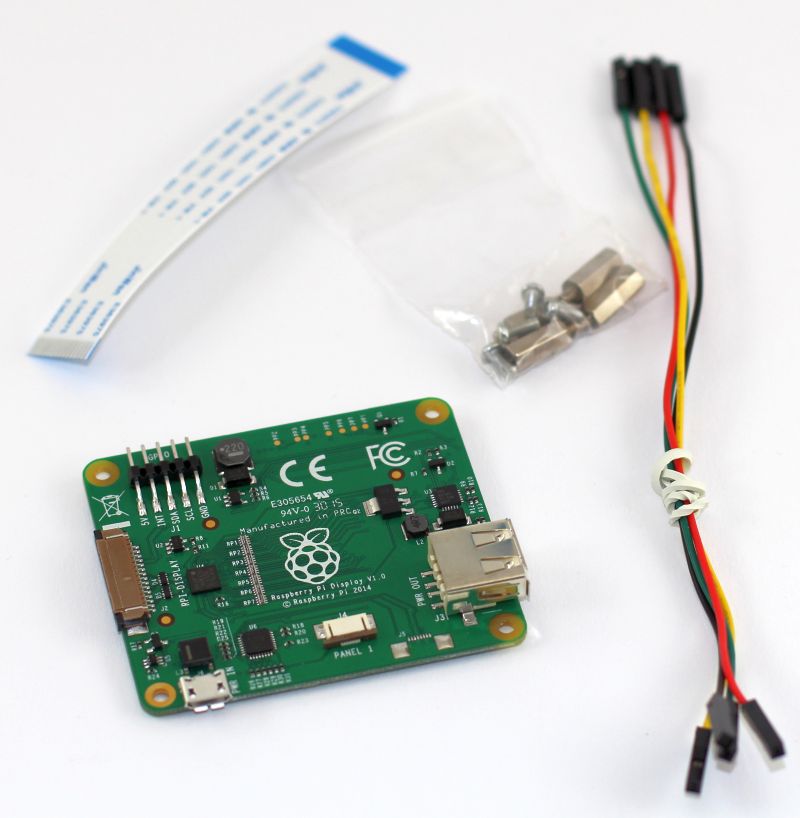
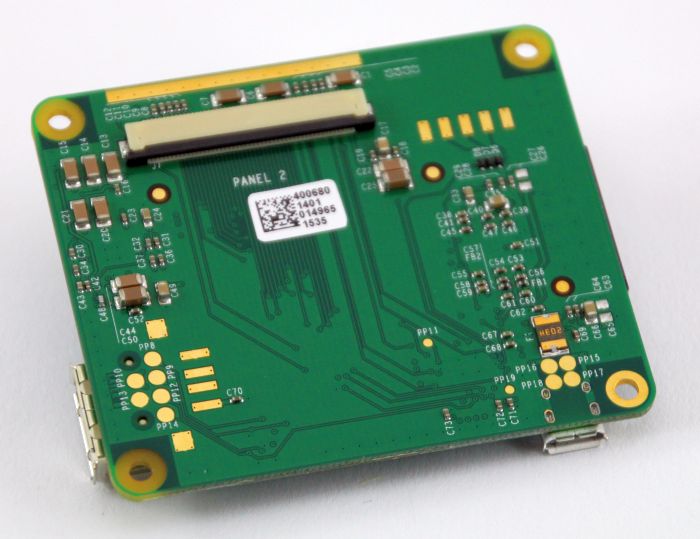
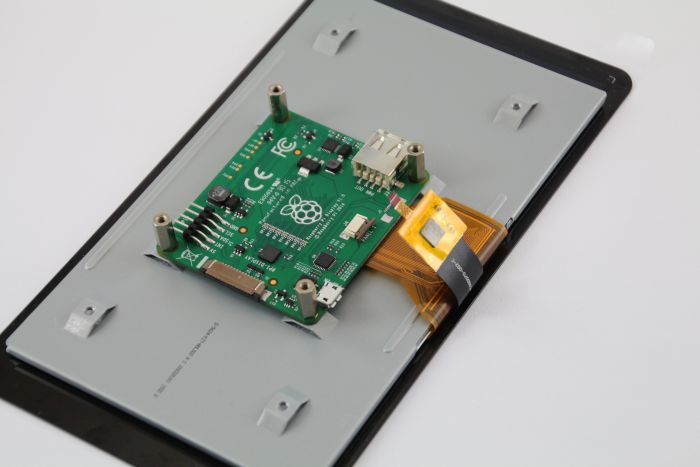
The bundle includes the touchscreen display, a daughter board to convert the RPi’s DSI (Display Serial Interface) video signal to a DPI (Display Parallel Interface) one for the touchscreen, a white ribbon cable to connect the daughter board to the RPi’s DSI port, four cables to power the RPi from the daughter board and four standoffs + screws to attach the daughter board + RPi board to the rear of the touchscreen.
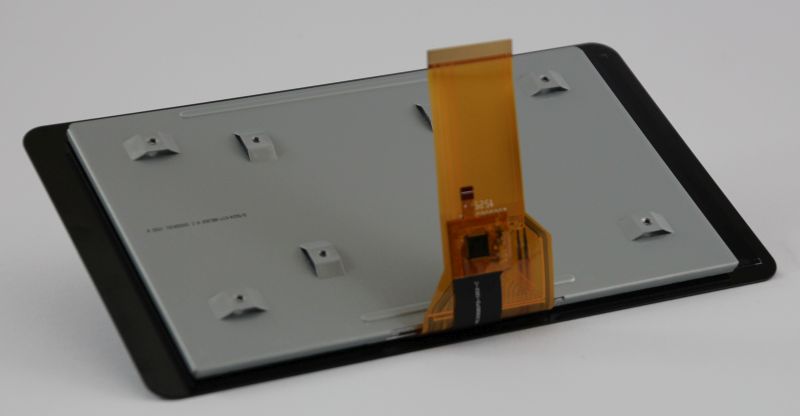
The front and back side of the screen:
The daughter board:

2 – Assembling the touchscreen
The most difficult step is the connection of the ribbon cables. To connect a ribbon cable, you have to pull out delicately the clamp of the connector. You can not insert the ribbon cable if the clamp is set:


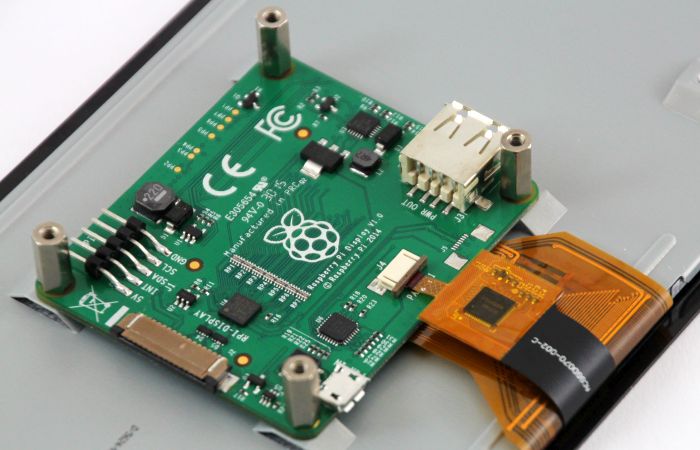
First connect the large ribbon cable:
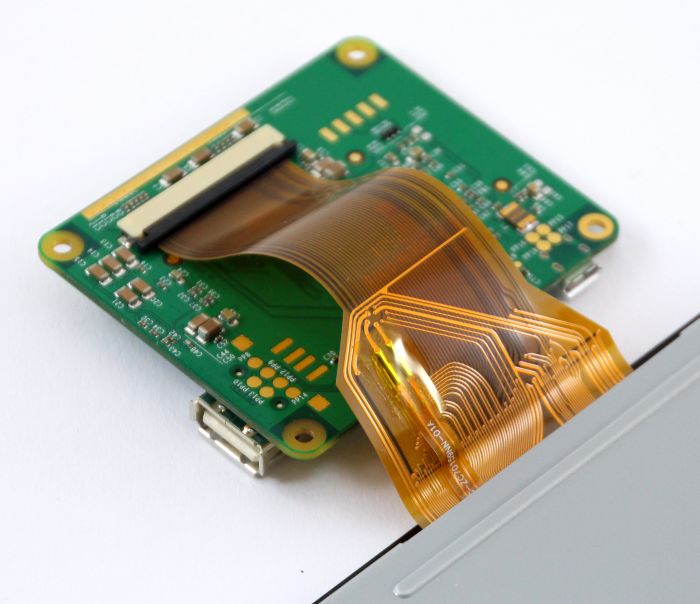
Then attach the daughter board to the screen and connect the small ribbon cable:
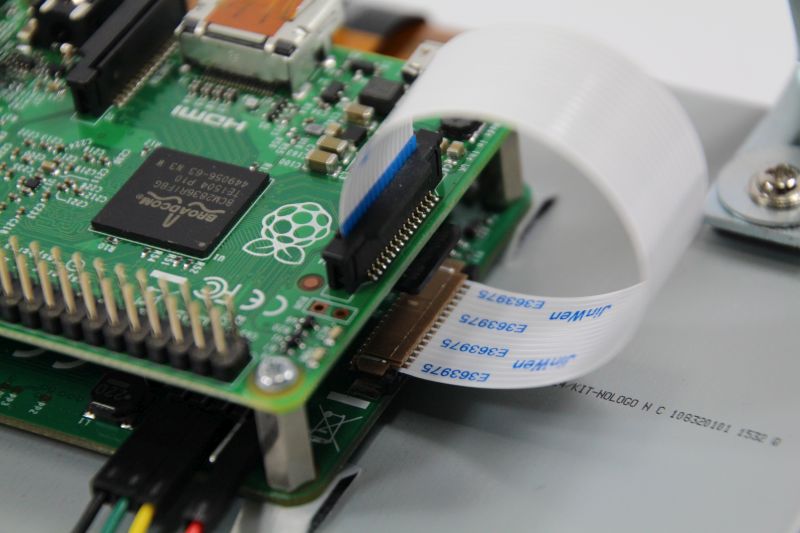
Now connect the white ribbon cable:
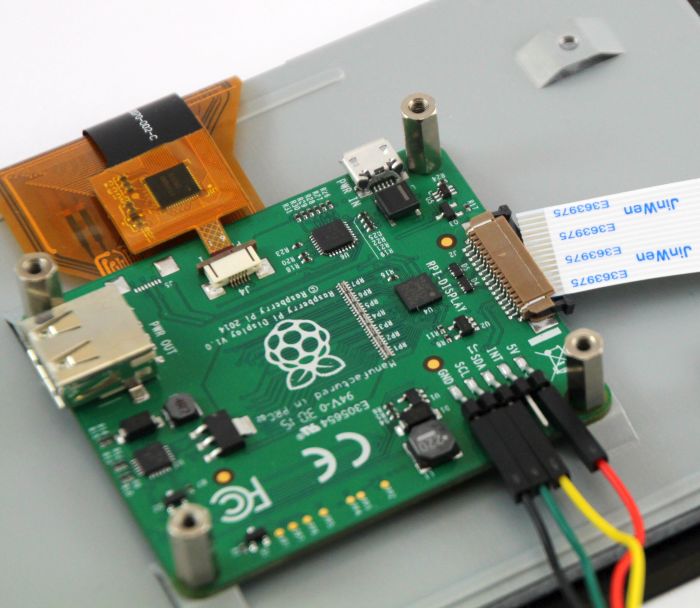
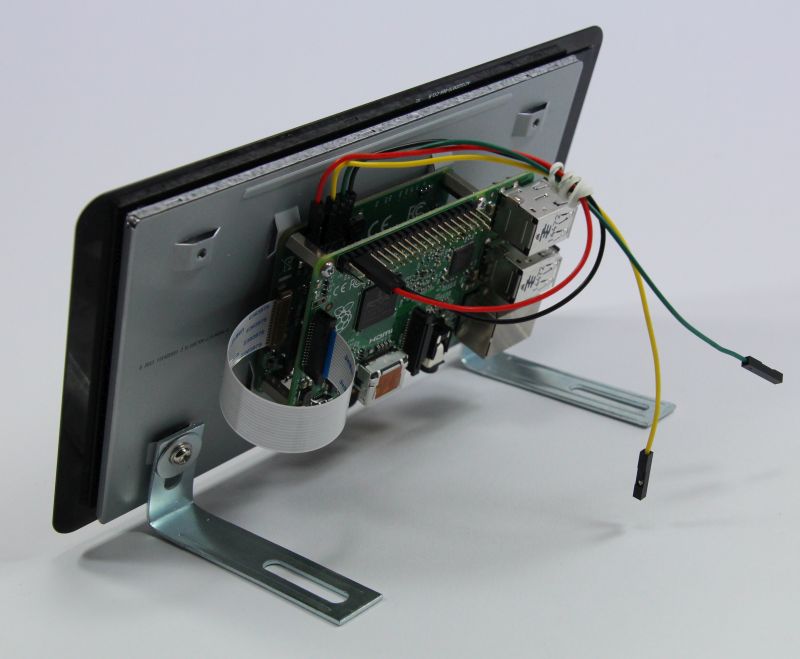
Attach the Raspberry Pi board and connect the other side of the white ribbon cable:
Now you can connect the cables from the daughter board to the RPi GPIO connector to power the RPI board from the daughter board. Thanks to these cables, only one power supply unit (2000mA) is required. If you don’t connect these cables (they are not mandatory) you have to use two power supply units: one for the daughter board and one for the RPi board.
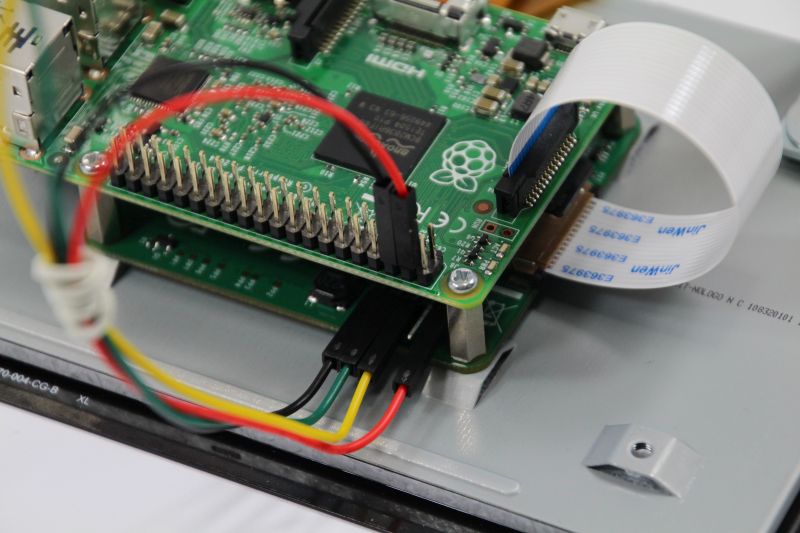
More information about the GPIO connector of the Raspberry Pi board can be found in this article: Meet the Raspberry Pi GPIO Connector.
The touchscreen display is now fully assembled:
3 – Test
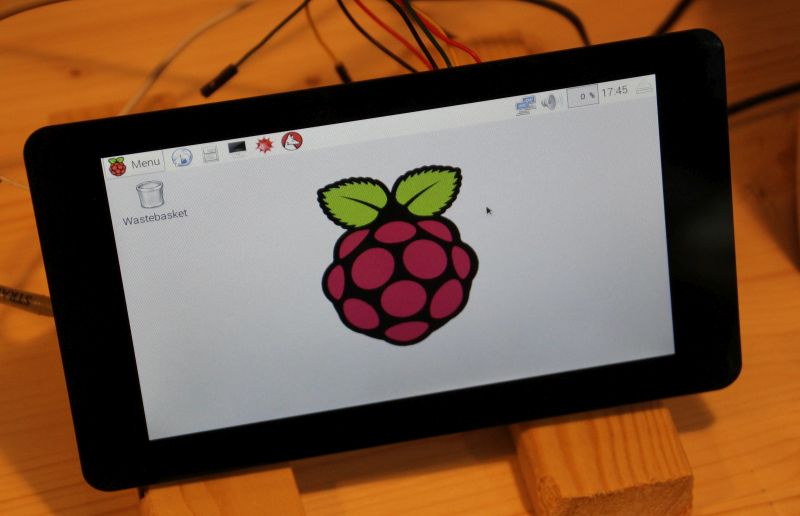
The assembly of the touchscreen is over. You can now boot on the Raspbian (I installed the latest Raspbian Jessie on the SD card):
A last step is required to be sure to have the complete support of the touchscreen. Open a terminal and type the following commands:
sudo apt-get update
sudo apt-get upgrade
sudo apt-get dist-upgrade
You can also update the RPi firmware with
sudo rpi-update
Reboot the RPi:
sudo reboot
Now the touchscreen is operational.
I tested some OpenGL ES demos that are shipped with GeeXLab (formerly GLSL Hacker…):
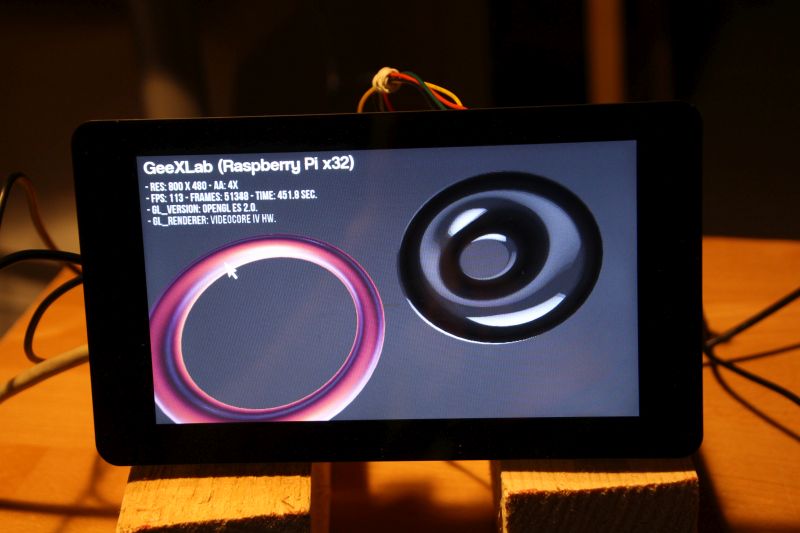
GeeXLab has been updated and now supports the touchscreen (from GeeXLab 0.9.0.4). And it works fine! You can now control your virtual world with a finger. It’s really cool!
On the desktop, you can move the mouse cursor, select and move windows with the finger. Everything works perfectly.
The official Raspberry Pi touchscreen display is a great product. The touch panel works fine and it works without particular tweaks, right after the first boot. The resolution is sometime not enough (try FileZilla and you will understand) but if an application is targeted for the 800×480 resolution, there’s no problem. Few months ago I developed a simple prototype of a 2D space shooter and I guess I will update it to control the main player with the finger.
4 – Misc Notes
If you need to flip the display output (because you want to have the USB connectors of the RPi board on you right for example), just edit the /boot/config.txt file:
sudo nano /boot/config.txt
and add:
lcd_rotate = 2
Save the file and reboot.