1 – Overview
The MiniMAD is a small device designed for simple video mapping and intended for MadMapper users. In short, a project including one or several videos is exported from MadMapper and saved on a SD-card which is consumed by the MiniMAD to project the videos.
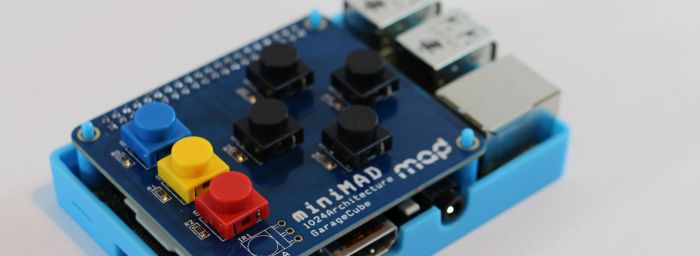
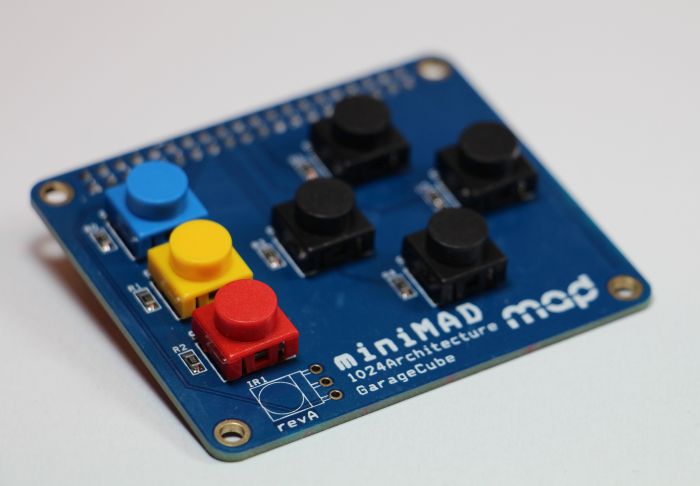
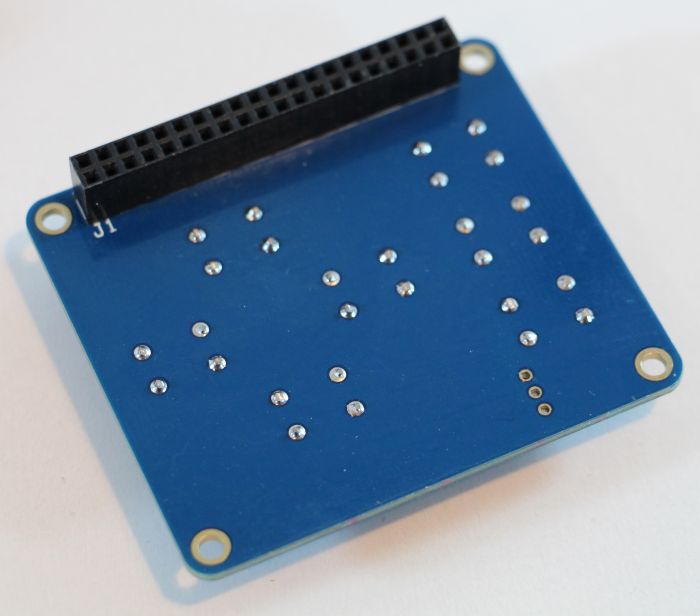
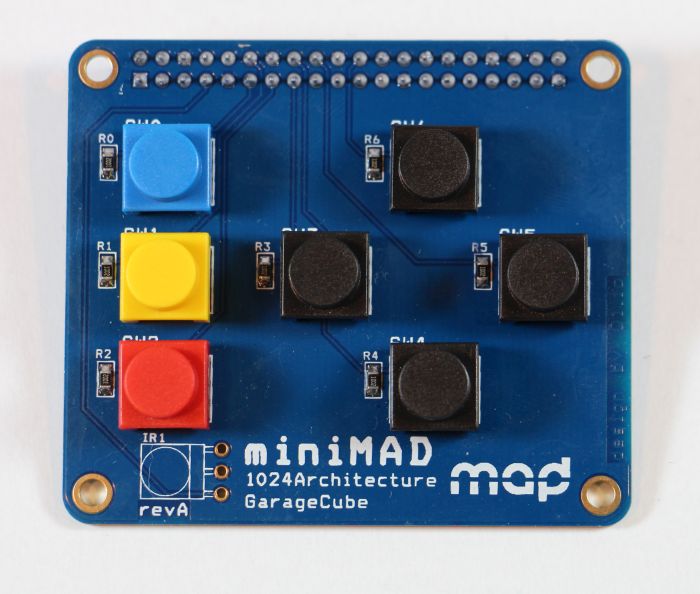
The MiniMAD is made up of two components: a Raspberry Pi 2 and an extension board with few buttons, connected to the Raspberry Pi via the GPIO connector.
As I previously said, MadMapper users are the first target of the MiniMAD, but you can easily use it for other purposes, since it’s essentially a Raspberry Pi with few ready-to-use (read: already connected to the GPIO connector) buttons. To program these buttons, just plug a SD-card with a fresh (or not) version of Raspbian and use Python + RPi.GPIO lib or a tool like GeeXLab that comes with built-in GPIO support in Python and Lua!
2 – Gallery

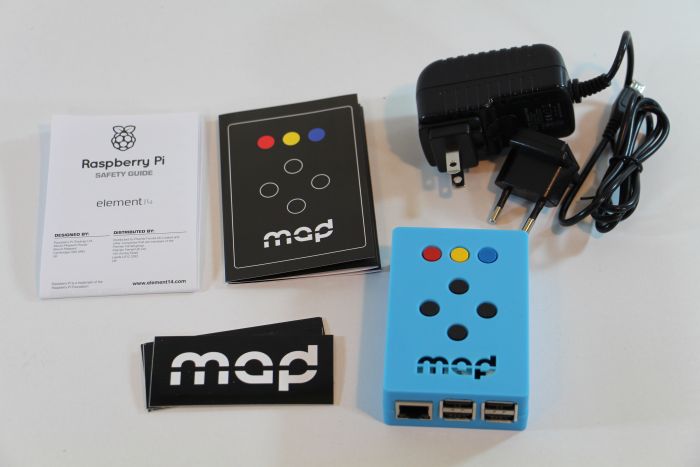
The MiniMAD bundle includes the MiniMAD, a SD-card with Raspbian + MiniMAD software (automatically launched), a 2Amps power supply unit, a user’s guide, and few stickers to improve the look of the MacBook Pro 😉
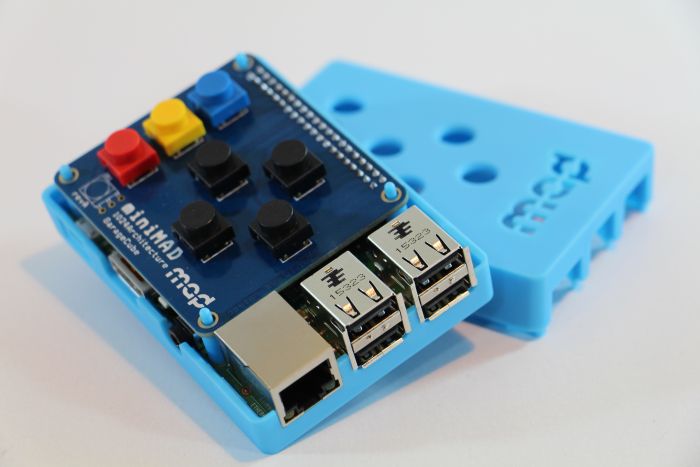
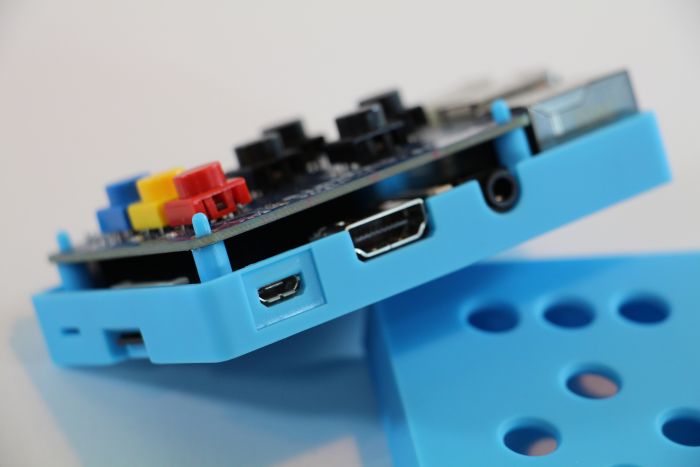
Let’s open the case:


2 – Video Projection Test
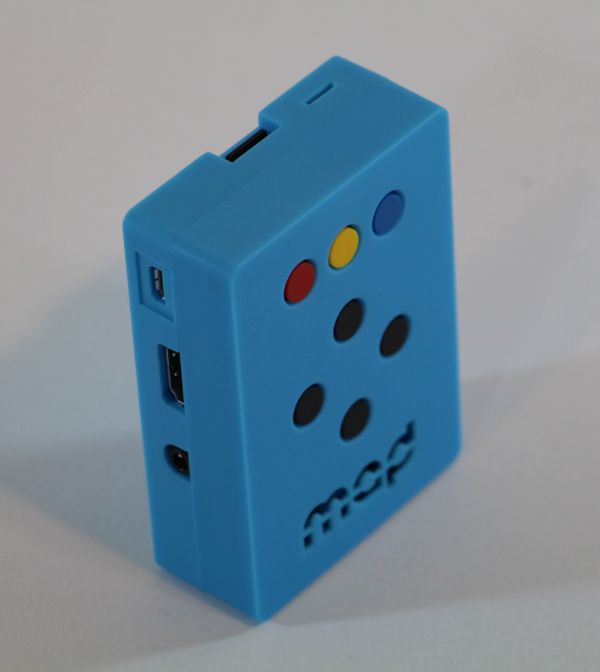
To use the MiniMAD, you need to plug the power supply and to connect a video projector on the HDMI port. That’s all. No mouse or keyboard required.
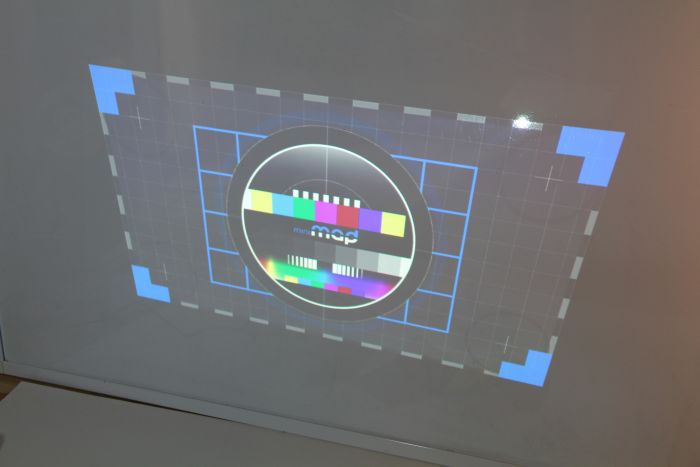
By default, the MiniMAD displays the following test pattern:
The test I’m going to do is simple: mapping the test pattern onto the following paper sheet:
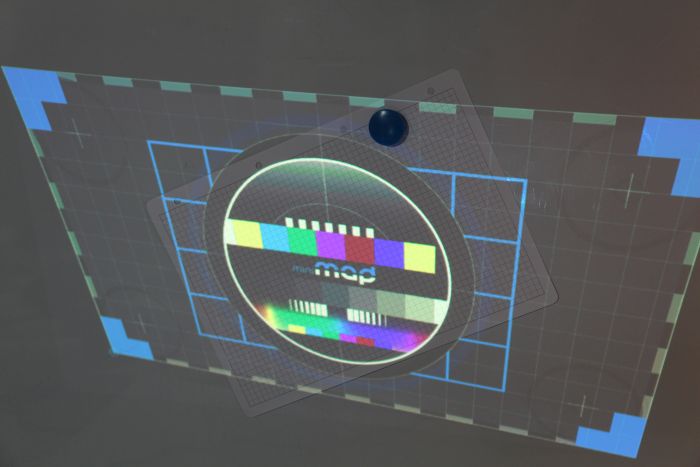
To deform the test pattern, we’re going to use the Mapping Mode as described in the user’s guide:
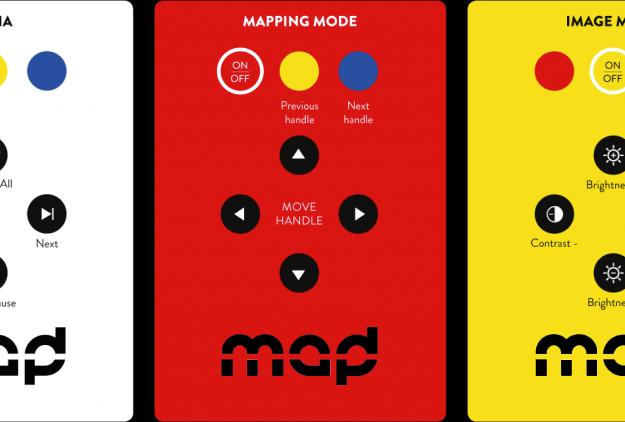
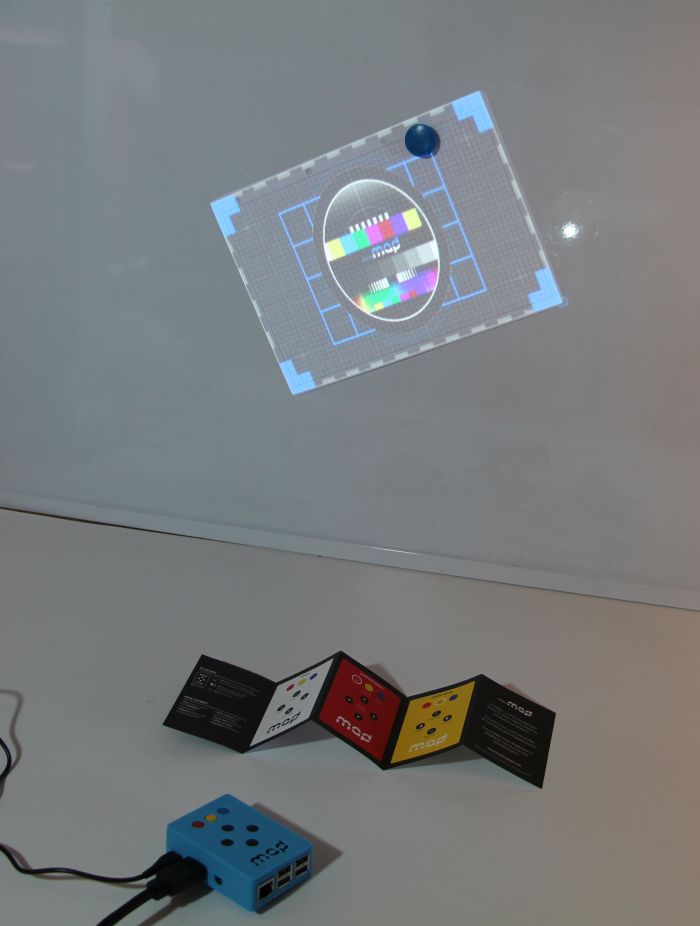
Press once on the red button to enable the mapping mode. Now using the four black buttons, we can move one of the four corner of the test pattern. To move another corner (handle in the doc), press on the blue button to select the next one. The mapping works well and I could easily map the test pattern of my paper sheet:
3 – Final Word
The MiniMAD is a nice use case of the RaSpberry Pi (I don’t know why but lot of people forget the S…). The MiniMAD costs around 160 Euros which is cheap if you compare this price to the one of a small PC or Mac system. The MiniMAD has been developed for a particular task: a very cheap video mapping device installed (and forgotten) somewhere, and that projects a video for a long time (days…). I bet you won’t let your $2000 MacBook Pro far from home during days like you can do with the MiniMAD.
This is very cool application of the RP, I like that it’s extremely portable and easy to hide plus you can take a couple of these with one as backup at a very reasonable price overall.